How does it work?
To restore a system from a CD/DVD:
-
- Download the Dr.Web LiveDisk image.
- Write the image onto a CD/DVD. If you use Nero Burning ROM, follow these steps:
- Insert a blank CD/DVD into the CD/DVD burner;
- Go to the File menu and select Open;
- Navigate to the saved image file and select it;
- Press Burn and wait for the burning process to complete.
- Turn on or restart the computer. As soon as loading begins, insert the disk containing Dr.Web LiveDisk into the drive.
- Make sure that the CD/DVD drive with Dr.Web LiveDisk (or any other device on which Dr.Web LiveDiskhas been recorded) is set as the first boot device. Adjust the corresponding BIOS settings, if necessary.

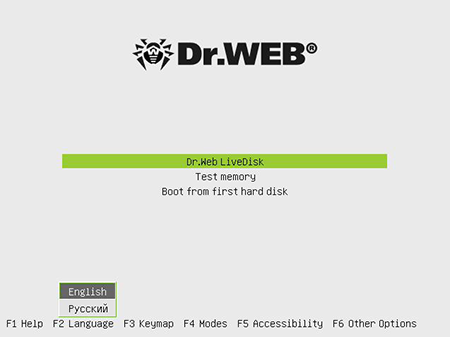
- When booting from Dr.Web LiveDisk, you will see a dialogue window prompting you to choose the boot mode.
To launch Dr.Web LiveDisk, use the arrow keys to select Dr.Web LiveDisk and press ENTER.
To boot Dr.Web LiveDisk in advanced mode, select Options and specify the mode you need.
Select Start Local HDD if you want to boot from the hard drive instead of Dr.Web LiveDisk.
Select Testing Memory to launch the Memtest86+ utility.
During the boot, the program will configure your system according to the hardware found. Dr.Web LiveDisk will automatically detect and mount all the partitions on your hard drive and set up a connection to the network, if possible.
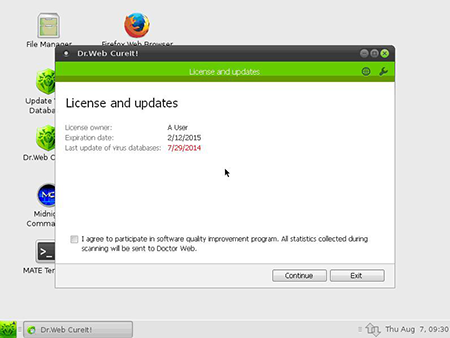
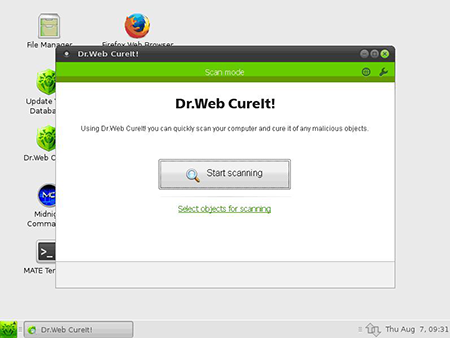
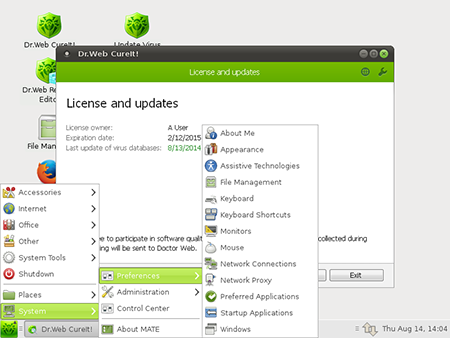
Once Dr.Web LiveDisk is finished booting up, the Dr.Web CureIt! scanner will automatically be launched, and the License and upgrades window will open.
Attention! Check whether your Dr.Web LiveDisk is current and, if necessary, update the virus databases.
To select scanning mode, click Continue.
To run a quick scan, press Start scanning. If necessary, select the scan settings.
The utilities that are available to you when you press this button
 let you configure the graphical shell of Dr.Web LiveDisk and the settings for connecting to the LAN and Internet.
 You can search and copy important information with the Midnight Commander
 file manager.
More information about Dr.Web LiveDisk can be found in the product documentation.
To create an emergency restore disk on a USB drive:
-
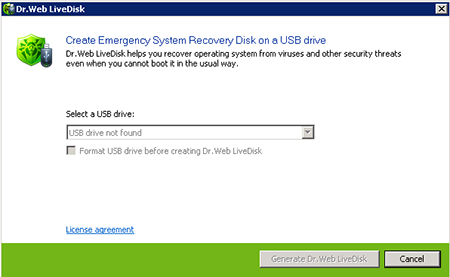
- Connect the USB drive; to create a Dr.Web LiveDisk, any flash drive with at least 1 GB of free disk space will do.
Connection registration takes ten seconds maximum. - Run the application drweb-livedisk-900-usb.exe.
- The application will detect the available USB devices; you will need to choose the one you want from the list. If you wish, you can format the selected device (before formatting, a warning window appears). By default, Dr.Web LiveDisk does not change or delete files stored on the drive. To read the license agreement, click the appropriate link in the program window (by default, the text of the license agreement will be displayed in the browser).
- To create a bootable USB flash drive, click Create Dr.Web LiveDisk.
- File copying starts automatically.
- When the process is complete, press Finish to exit.
More information about Dr.Web LiveDisk can be found in the product documentation.
- Connect the USB drive; to create a Dr.Web LiveDisk, any flash drive with at least 1 GB of free disk space will do.
